


house extension|commercial builder|property maintenance|electrical repair|commercial renovationoffice fit out|shop refurbishment
During normal use, drum washing machines can accumulate dirt in the dirt tank due to detergent residue, fiber fluff, and other reasons. If not cleaned on time, this type of dirt can interfere with the effectiveness of the washing machine and may breed bacteria. Therefore, it is crucial to regularly remove and clean the dirt tank to maintain the cleanliness of the washing machine. The following is a detailed analysis of the methods for removing and cleaning the dirt tank of a drum washing machine.
Steps for removing dirt tank
preparatory work
Before cleaning the dirt tank, the following preparations need to be made:
Cut off power: Ensure that the washing machine is powered off to prevent electric shock accidents. Prepare cleaning tools such as screwdrivers, wrenches, slender brushes, cleaning agents, etc. Preparation of cleaning agents: Choose suitable cleaning agents, such as washing machine sink cleaner, white vinegar, etc.
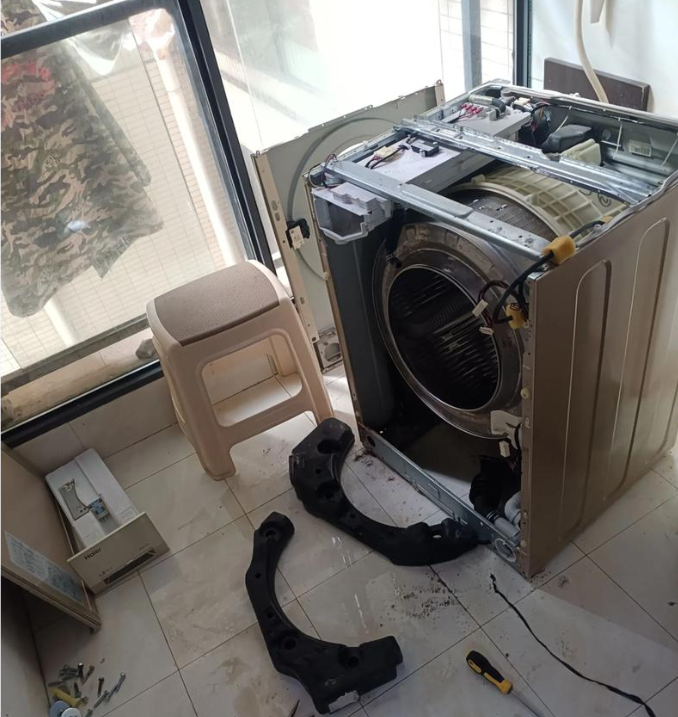
Disassembly steps
The method of removing the dirt tank may vary slightly depending on the washing machine model and design. Generally speaking, the dirt tank is composed of a plastic box that can be removed by pressing or rotating. Gently unscrew the screws at the bottom of the drum with a wrench or pliers and remove the drum from the washing machine base. Put the removed dirt tank into a prepared container, soak and clean it with cleaning agent and water.
Cleaning steps
Carefully brush the dirt trough with a slender brush or old toothbrush, and use cleaning agents as an aid if necessary. After brushing, rinse the dirt tank with clean water to ensure thorough cleaning. Wipe the inside and outside of the drum washing machine with a clean cloth or tissue to ensure cleanliness and hygiene.
Installation Guide
After cleaning the dirt tank, let it dry, then reinstall it onto the drum and secure it in place. Reinstall the drum back onto the washing machine base, tighten the screws to ensure a secure installation.
Cleaning and maintenance suggestions
Regular cleaning: It is recommended to clean the dirt tank at least once a month to ensure that the washing machine remains clean. Pay attention to water usage: adjust water usage reasonably to prevent excessive consumption of water resources. Choose suitable detergent: Use neutral detergent to prevent the use of strong alkali or strong acidic detergent, and reduce the corrosion inside the washing machine. Check other components: While cleaning the dirt tank, check other parts of the washing machine, such as the inlet and outlet pipes, to ensure that they are also in good condition.
summary
Through the above steps and suggestions, everyone can easily remove and clean the dirt tank of the drum washing machine, maintain the cleaning and hygiene of the washing machine, extend its service life, and protect the health of family members. Regular cleaning and maintenance can not only improve laundry efficiency, but also prevent potential health risks caused by dirt and bacterial accumulation.
Share this post: